An image is a vital part of your website, conveying emotion and illustrating the shared topic. However, another crucial part of your website is speed, and speed is directly related to the size of the images on your site.
I have prepared a short guide on how to reduce (optimize) images for a website so that the image quality remains unchanged. I use this same system myself every day.
Nowadays, very large photos are taken—our mobiles are set to take photos over 4 MB in size, with dimensions such as 4031×2268 pixels. However, you cannot put such images on a website! YOU CANNOT—remember, this is very important! Otherwise, no website visitor will wait for them to download, and you will simply lose customers! According to a HubSpot article, 64% of mobile visitors expect a page to load in less than 4 seconds! If the page hasn’t opened by then, they simply leave. You cannot achieve a 4-second load time if your page contains 4 MB images.
The following is a tutorial on how you can reduce the images you upload to your website
- Determine the maximum size your website accepts. You can check this, for example, in the WordPress admin interface under Settings – Media.
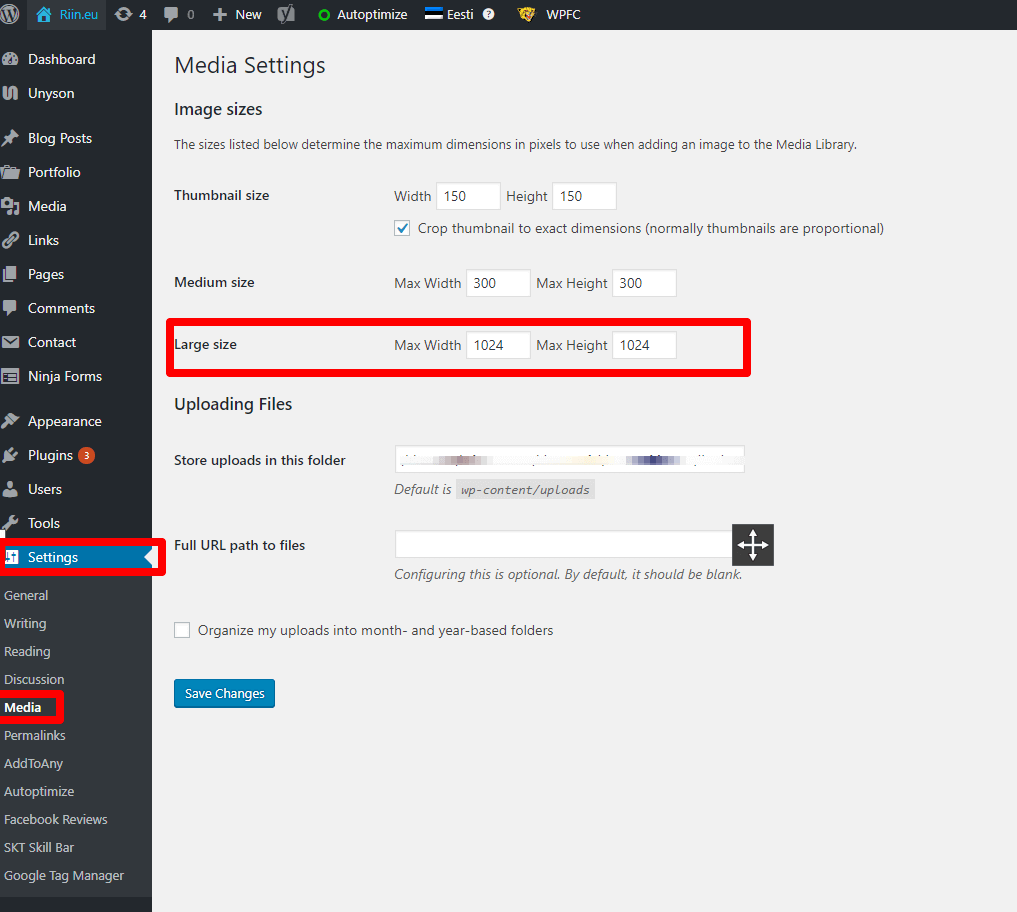
What size image can I upload to the website
- On my riin.eu site, the largest images can be 1024×1024 px. Therefore, if I upload an image that is, for example, 1500×750 px, it wastes space unnecessarily. The larger 1500 px side of the image should be reduced to 1024 px.
- Once the image size is reduced, the images must be optimized for the web. An excellent program for this is https://tinypng.com/.
Upload the desired images to their site, and they will perform the necessary actions to optimize them. Watch the video below.
Remember, never upload an unoptimized image! It will simply make your website slow!